INSTALLATION INSTRUCTIONS
Installation is all about technique. The MOST IMPORTANT part is getting the tire BEAD to drop fully into the center of the RIM so the Alien Mousse seats properly and the bead locks in place. Using bead ramps or a bead buddy (watch the quick video) is the key—it makes the tire slide on with way less effort and reduces strain on everything. As with all tire installs a quality tire installation lubricant helps.
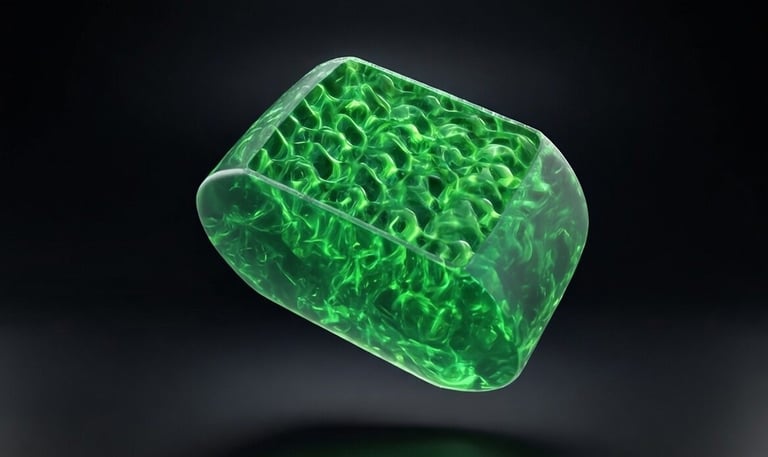
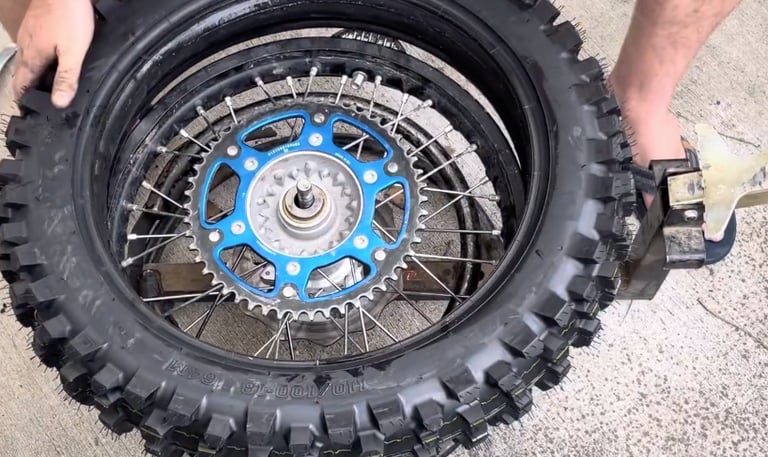
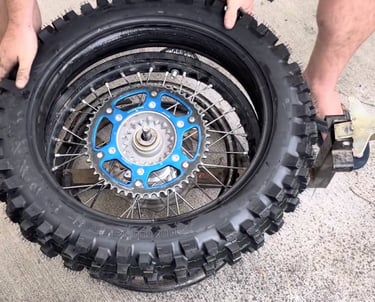
1 - Install Mousse Orbs into Tire
Place all Alien Mousse orbs into the tire. RIM side towards the rim so the orbs fill the tire completely. Lubricate the first bead of the tire with quality tire installation lubricant or tire soap. Do not use a lubricant that is not intended for tire beads. Improper lubricant will not dry appropriately.
Be cautious with long levers and brute-forcing the tire on—you can still damage or crack the tire bead if you're too aggressive. The upside? There's zero risk of pinching or damaging the Alien Mousse itself—no foam to tear, no inner tube to puncture. Just solid, 3D-printed orbs that install clean and stay reliable ride after ride.
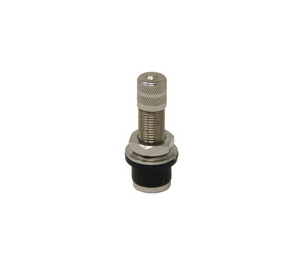
2 - Install Provided Alien Tech Stem
Install a valve stem with NO CORE into your previous valve stem hole in the rim. This will be used to seat the bead of the tire after installation is complete. One is provided in every Alien Mousse kit.
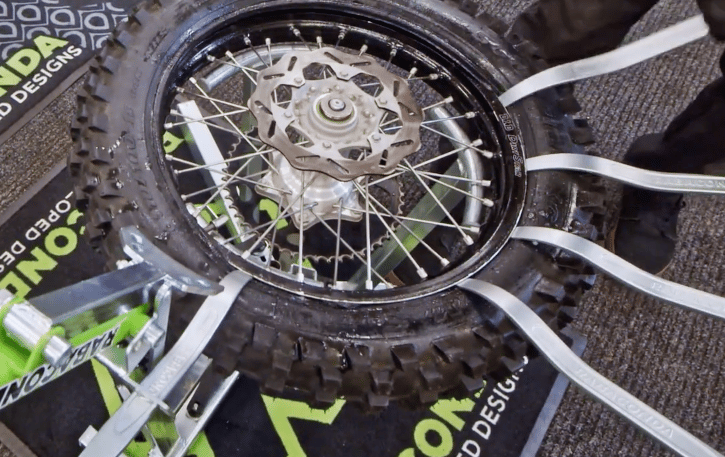
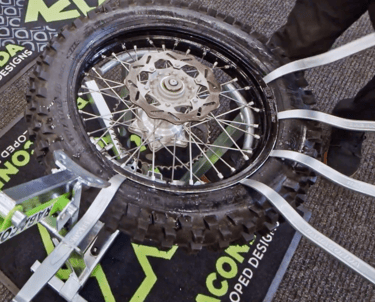
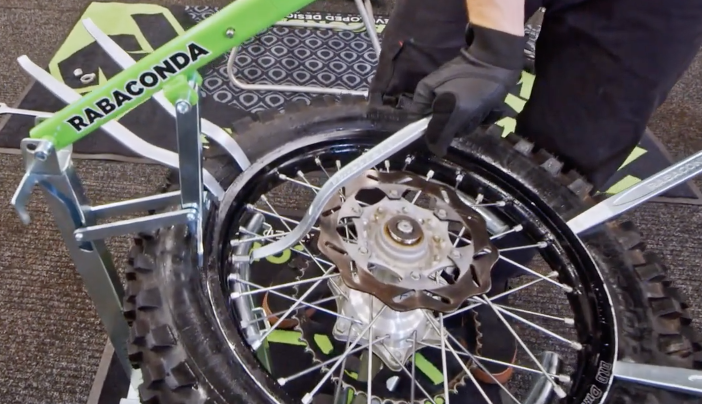
3 - Install First Bead of Tire on Rim
Start from the side of the rim lock. Keep rim lock loose during entirety of install. Get the tires first bead underneath the rim lock so that the bead is sitting as far into the rims drop center as possible. From there work your way around the tire with levers or tire spoons until the first bead is completely installed.
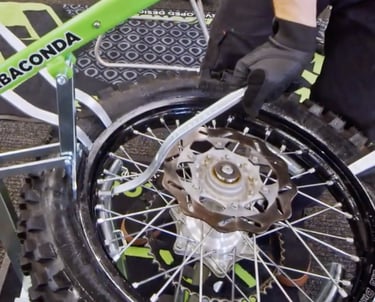
4 - Install Second Bead of Tire on Rim
Lubricate the second bead. Use a tire iron near (within 2-4") the rim lock to work the first area of the bead onto the rim. Continue working the second bead onto the rim using multiple tire irons. once the tire is 1/3 installed place a bead buddy or use a spoon to begin holding the bead into the tires drop center. Continue this method all the way around the tire using multiple bead buddies if needed. The side opposite of the rim lock is where you will need the bead buddy the most.
5 - Finish Installing Bead
During the last section you will need to press the beadlock up into the tire. Use a tire iron to press on the beadlock while stretching the bead with another tire iron or while pressing on the sidewall of the tire.
5 - Set the Bead
Using the Alien Tech supplied valve stem (without the core) that was installed on your rim, air up the tire until the bead is completely set on the rim. This air will rush out when you remove the compressor hose. Once both beads are properly set tighten down your rim lock.


6 - Go Ride
Congratulations! You just installed your first Alien Mousse
ALWAYS WEAR APPROPRIATE PPE - GLOVES AND EYE PROTECTION REQUIRED
INSTALLATION VIDEO
RIDE FEARLESS
Alien Tech crafts modular, 3D-printed mousse inserts designed to keep you rolling
N O F L A T S · N O F U S S · P U R E F R E E D O M
ALIEN TECH
The Alien Mousse is a patent pending product. All rights are reserved.
Contact
Newsletter
info@alientechusa.com
123-123-1234
© 2026. All rights reserved.